 Figure Features
The Image Export Settings for Figures are defined in the Report Settings object (Report Generator V231.3 or newer).
The legacy Image Export Settings for Figures are defined in the Mechanical Options window or in the Report Generator Preference file.
 New Figures
Click “New Figures” to add a figure to all selected objects using the current view. The view, section and contours may be edited for each individual figure.
Existing Figures and Images may be renamed based on the parent object name by selecting the objects in the tree and click “New Figures”.

This renaming feature is useful if duplicating and renaming objects such as loads or results.
 New Static Images
Click “New Static Images” to add a screen capture of all selected objects. Each image is named after the parent object.
If selecting “Figures” a static figure of each is created (using the figure export settings). This feature is useful to compare difference between an original and modified model or to export an individual image.
 Update Figures
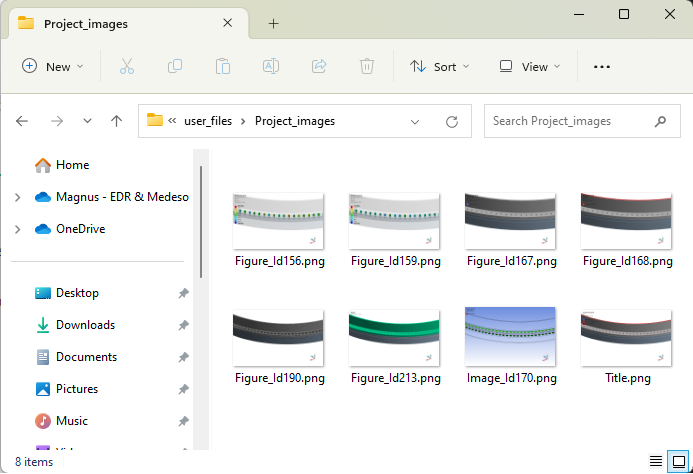
Click “Update Figures” to export all or the selected Figures to the folder “ReportName_images” in the projects “user_files” folder.
Individual figures may be updated by selecting them in the model tree and click the “Update Figures” button.

The naming of figures is changed to use a generig “Figure_IdX.png” to allow the Edit Report Draft feature.
Update figures in Word
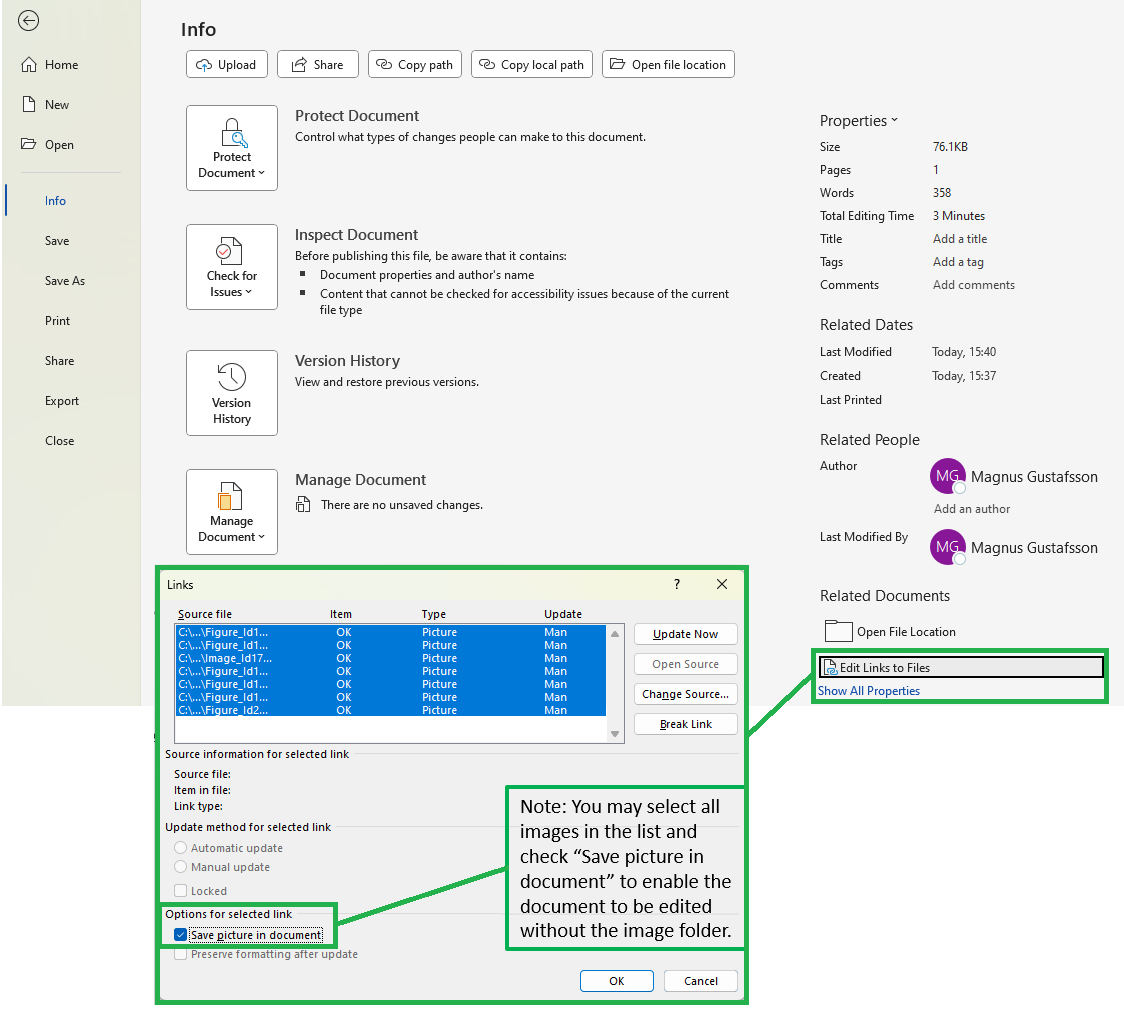
The “Update Figures” button can be used to update figures in the Word report to reflect changes made in Mechanical such as a new view or contour settings etc. In Word click “File>Info>Edit Links to Files” and select the figures and click “Update Now”.

This will only work when using the “docx” format.